I have been dealing with problems for the past year with the buggy not wanting to start after I turn it off and it stranded me countless times because of it.
I have troubleshooted everything I could and even though I narrowed it down to electrical, I could never nail down the exact problem (even after replacing the coil numerous times).
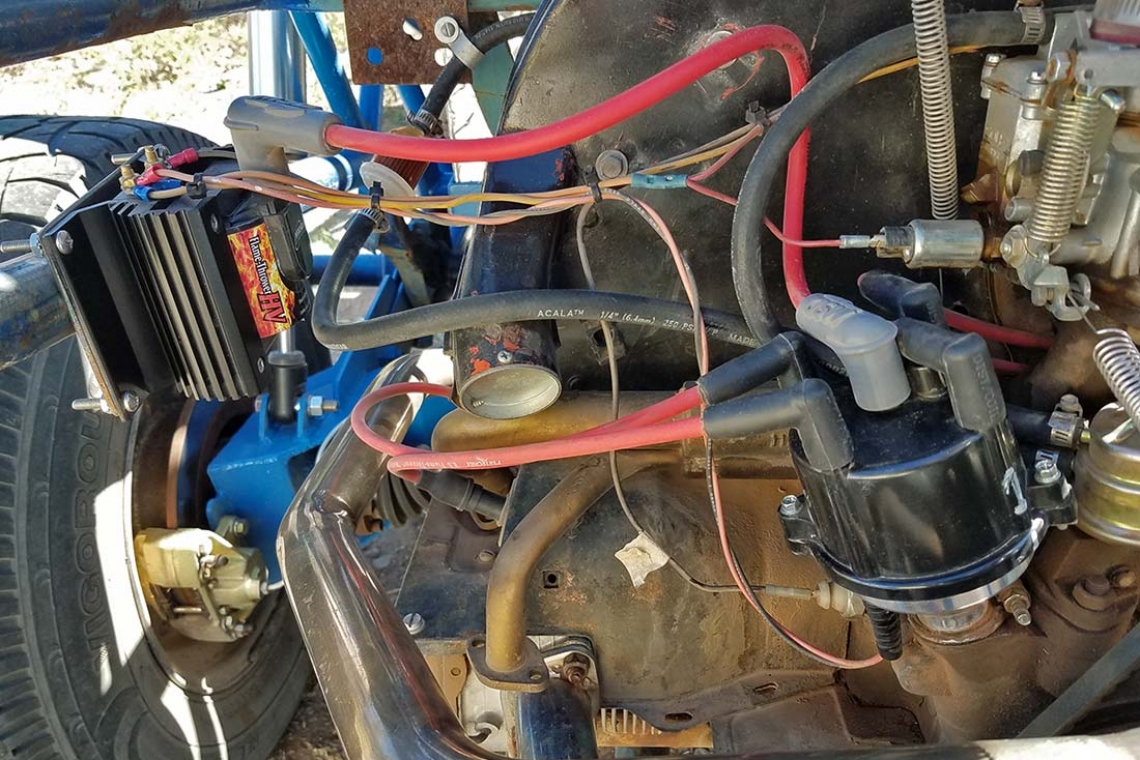
Therefore, I decided to stop trying to fix old equipment and just replace the entire electronic ignition. After a lot of research, I opted to go with the PerTronix Flame-Thrower system (with the Ignitor II) and the huge 60k volt coil so that I can widen the plug gaps a bit for more performance.
Here are all the parts that I purchased for this project:
- PerTronix D180810 Flame-Thrower Plug and Play Billet Electronic Distributor with Ignitor II Technology for VW Type 1
- PerTronix 60130 Flame-Thrower 60,000 Volt E-Core 3.0 ohm High Voltage (HV) Ignition Coil
- PerTronix 804404 Flame-Thrower 8mm 4 Cylinder Spark Plug Wire Set - Red
- 4x Bosch (7902) WR8AC+ Super Plus Spark Plug
- MSD 18" Red 8.5mm HEI Coil Wire
This project included the following tasks:
- Removed old external ignition module, ignition coil, and distributor
- Weld new plate on side of engine cage to hold new large HV coil
- Mount new PerTronix HV coil to newly fabricated plate
- Extend a few wires to reach new coil location (further away)
- Installed new PerTronix Distributor and connected wiring to coil
- Removed old spark plug wires
- Removed left and right cooling tins
- Removed old spark plugs
- Installed new spark plugs (gapped at .030)
- Reinstalled cooling tins
- Installed new PerTronix spark plug wires
- Installed new extra-long MSD ignition coil wire
- Adjusted new distributor timing