I completed hand-sanding and painting the remaining (rear) section of the buggy by brush, including the recent suspension work and tubing around the engine.
As with the previous paint projects, I didn't want to take everything off the chassis so I decided to sand and paint by hand, masking as I go. Although this made the whole painting process span a couple years, I finally finished and I love the results. I still love the dual-angle sanding blocks because they can get into tight spots and I highly recommend them!
Here is the paint and sanding blocks that I purchased for this project:
This project included the following tasks:
- Remove flaking paint and heavily sand all surfaces to be painted
- Clean sanded areas very well with acetone to prepare for paint
- Mask areas that I didn't want to get paint on using masking tape and plastic sheeting
- Paint using brushes of various sizes depending on the area being painted
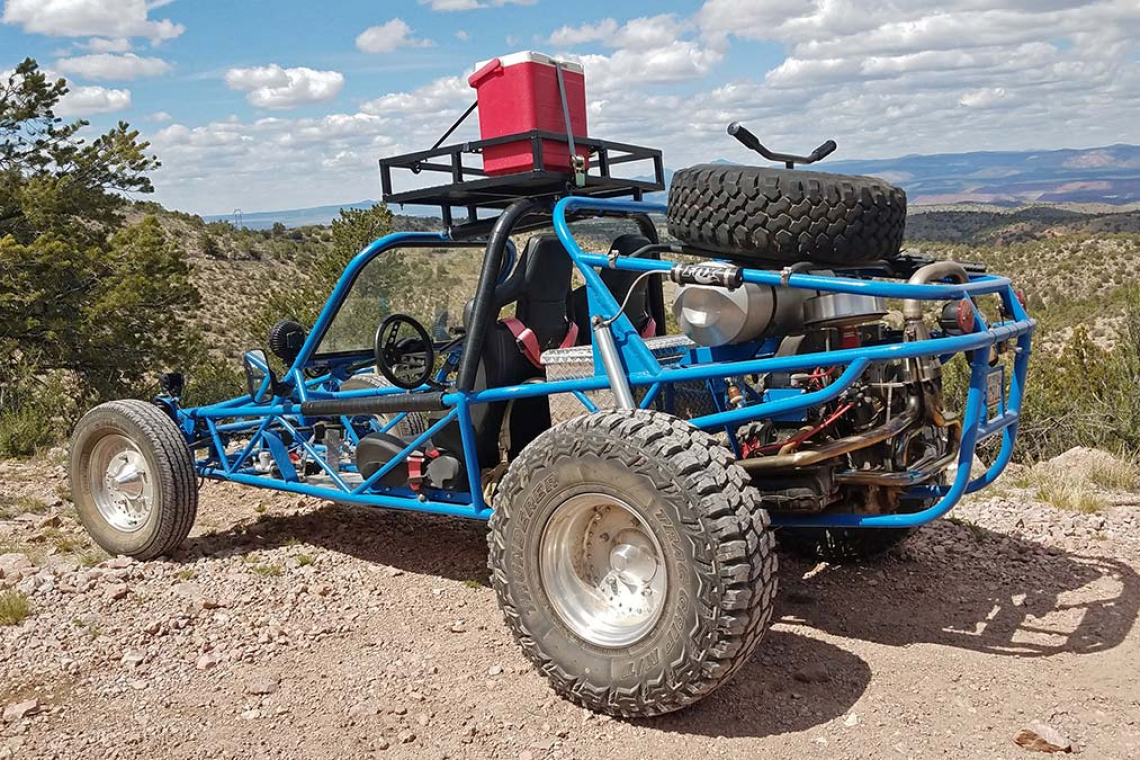
This image above shows the newly painted rear-end after removing all flaking paint and then sanding heavily. It's a night and day difference.